
You’ve admired your garden’s Zinnia explosion all summer long. Now, you’re trying to figure out how to keep it going next year without spending a fortune on new seeds. Well, you’re in luck! Saving Zinnia seeds is a little bit like making toast – not terribly complicated, but you have to follow a few steps to not end up with a burnt mess!
Step 1: Seed Maturity
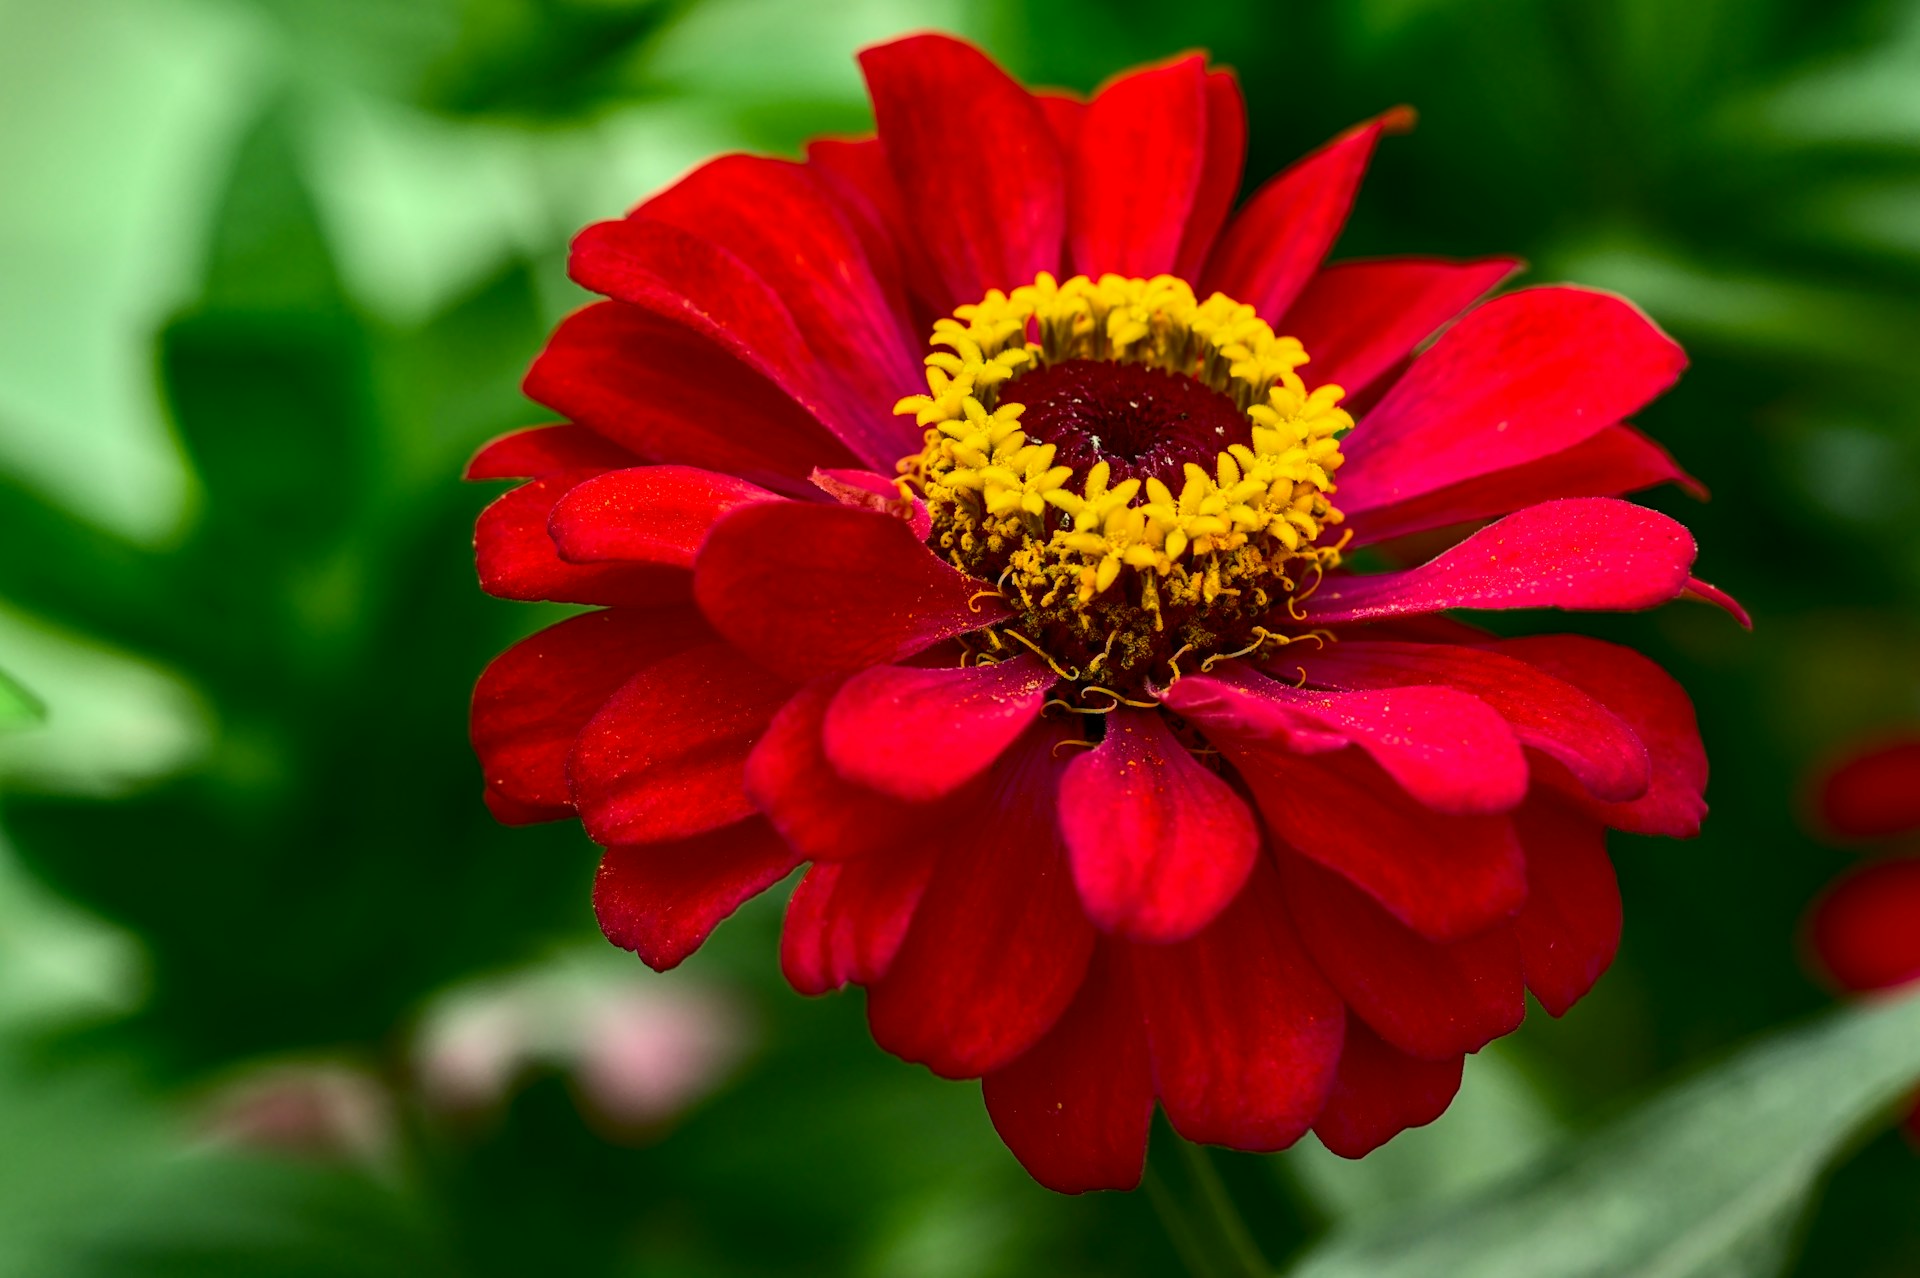
Seeds are like fine wine—they have a perfect aging point. Harvesting too early could leave you with the botanical equivalent of grape juice, while too late could give you the gardening blues. For Zinnias, timing is everything. The first sign of readiness is fading flowers; once the blooms look more ‘vintage’ than vibrant and the petals begin to shrivel, nature’s telling you it’s almost time. Patience is your friend here; wait until flower heads become brown and crispy to ensure the seeds have matured properly.
Step 2: Harvesting the Seeds
When you’re sure the seeds have aged like a garden guru’s wisdom, it’s time to harvest. Snip the heads off with a good pair of garden shears—no brutish plant-pulling, please—and gather them in a basket. While not quite as beautiful as fresh Zinnias, the potential is unlimited!
Step 3: Processing
Once indoors, channel your inner archaeologist and gently dismantle the dry flower heads over a clean surface. You’re excavating for seeds, which are shaped like miniature, flattened arrows, often with a bit of fuzz trailing behind. The seeds lurk among the chaff, which is the dry, miscellaneous bits that once were parts of the flower but now resemble garden dandruff. Your aim is to separate the wheat from the chaff, literally (well, figuratively but you know what I mean!)
Step 4: Drying to Perfection
Zinnia seeds, even after their release from their floral tomb, will hold onto moisture with surprising tenacity. To prevent mold, spread out your seeds in a single layer on several sheets of newspaper or my personal favourite – a window screen. Let the seeds dry out in a well-ventilated, warm but not hot location. A room with consistent temperature and low humidity is ideal.
Now, give the seeds a week or two, turning them occasionally to ensure they’re drying out on all sides. You’re aiming for ‘cracker dry’ – the seeds should snap rather than bend when pressure is applied.
Step 5: Storage
Now, to the vault (of your seed-saving bank, that is). Transfer the bone-dry seeds into paper envelopes or any other moisture-proof container that blocks light. Label carefully (this step is important!) and store in a cool, dry place such as a basement, closet, or a drawer far from direct sunlight and temperature fluctuations.
Voilà! You’ve just ensured a renewable source of Zinnia seeds, upping your gardening game and ensuring your garden will continue to make the neighbours jealous.
And hey, seed swaps with fellow gardening aficionados could really diversify your portfolio. You could be closing the gardening season with more seeds than you started with!
With these steps in your toolkit, you’re set to preserve the genes of your favourite Zinnias for many seasons to come. Ready to test your newfound knowledge? Get out there and harvest—they won’t save themselves, after all!