
Bloom Manager is a free, all-in-one season planning website for flower farmers. Gone are the days of relying on spreadsheets or scrap paper – Bloom Manager gives you a birds-eye view of your season, allowing you to optimize your seed orders, growing space and bloom times.
In this short article, we’ll go through the steps of getting started with Bloom Manager.
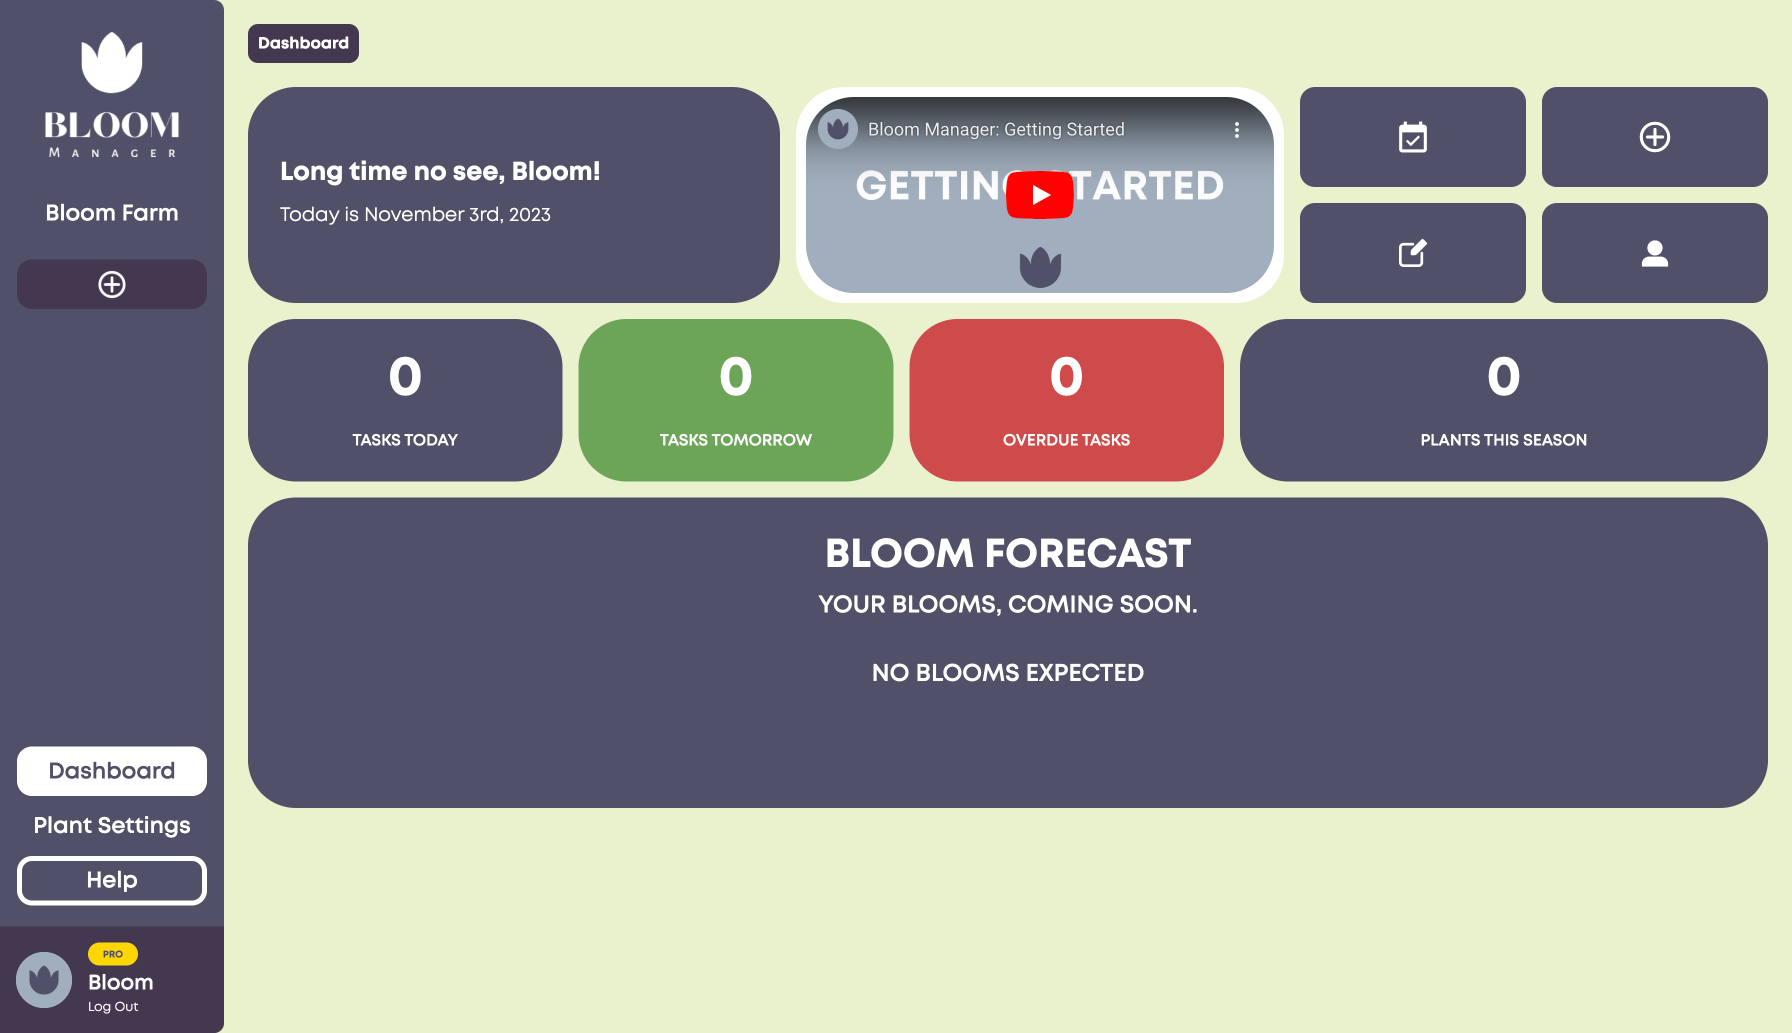
1. Dashboard
When you first sign in, you’ll find yourself on the dashboard. This page will become more useful later-on in your planning process; you’ll be able to see an overview of tasks, your total number of plants, and your Bloom Forecast – which displays the predicted date that each of your plantings will come into bloom.
To get started, click on your plan in the left sidebar.
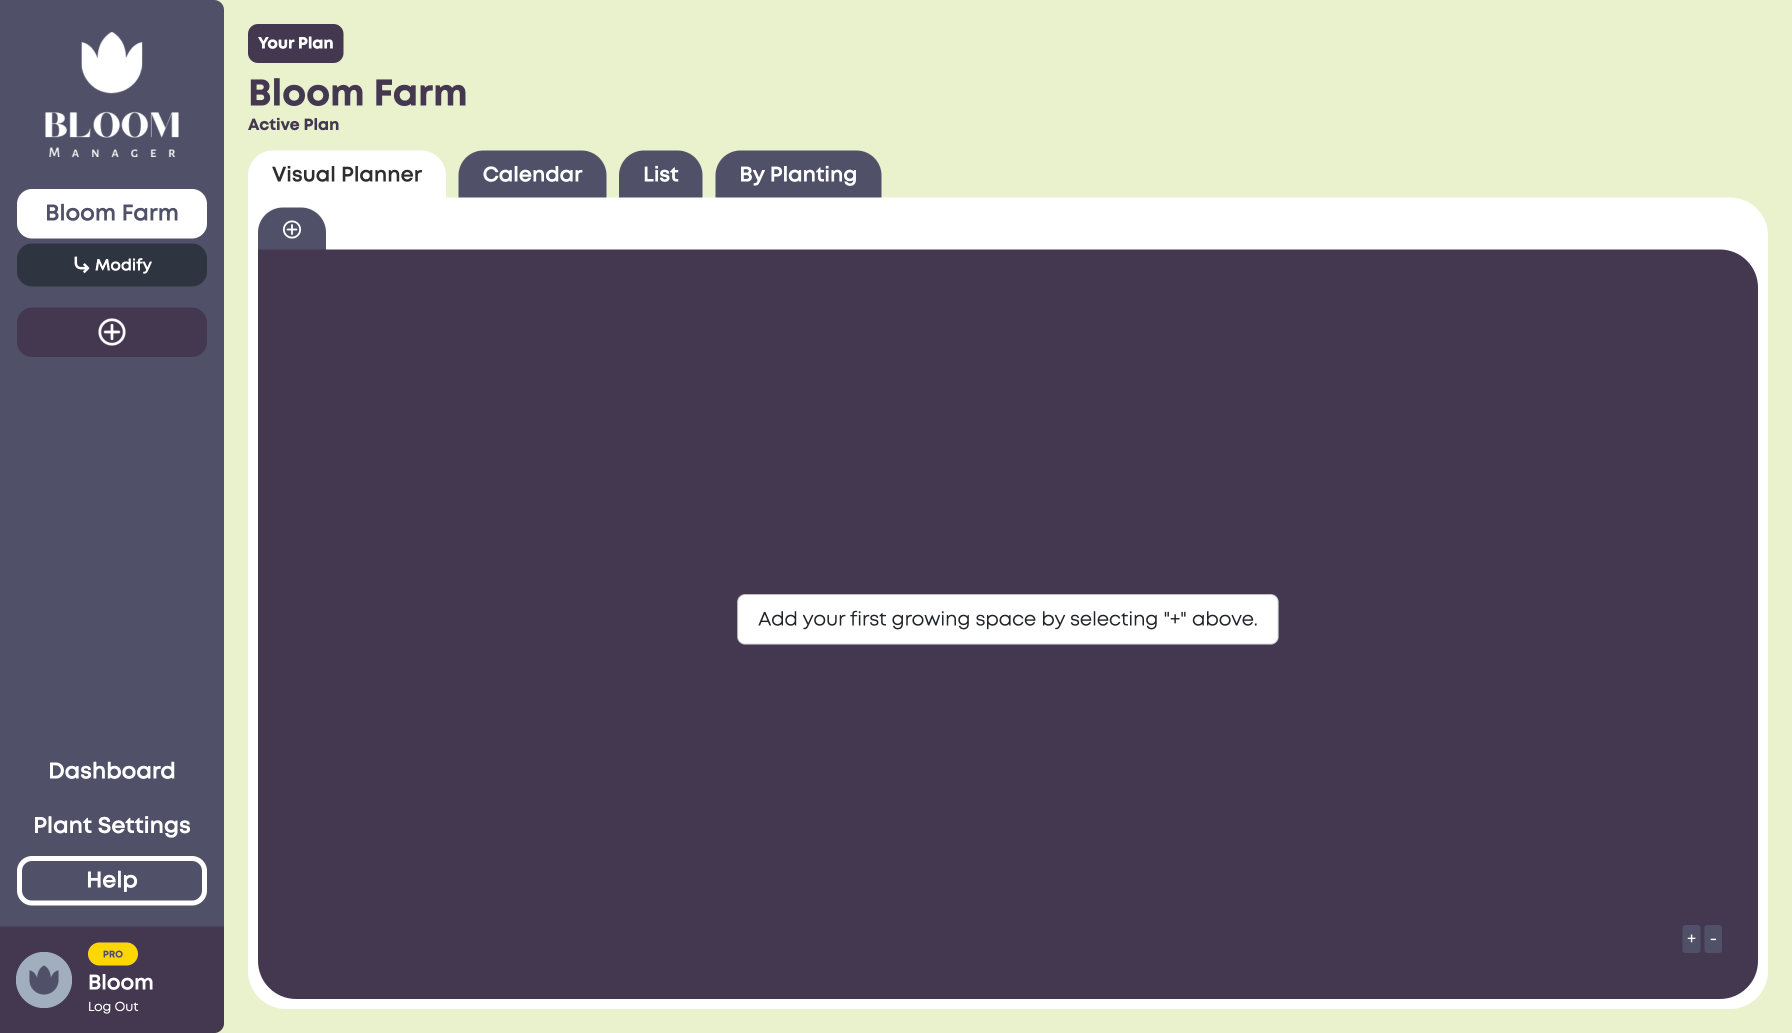
2. Your Plan
Now, you’re on the Your Plan page. This is where you’ll add plantings and manage your tasks. The easiest way to add a planting is on the Visual Planner tab.
Before you can add a planting, you’ll need to add a Growing Space. Growing spaces are a way to organize your different beds, fields, or other growing areas. To add a growing space, click on the + button, just below the Visual Planner tab.
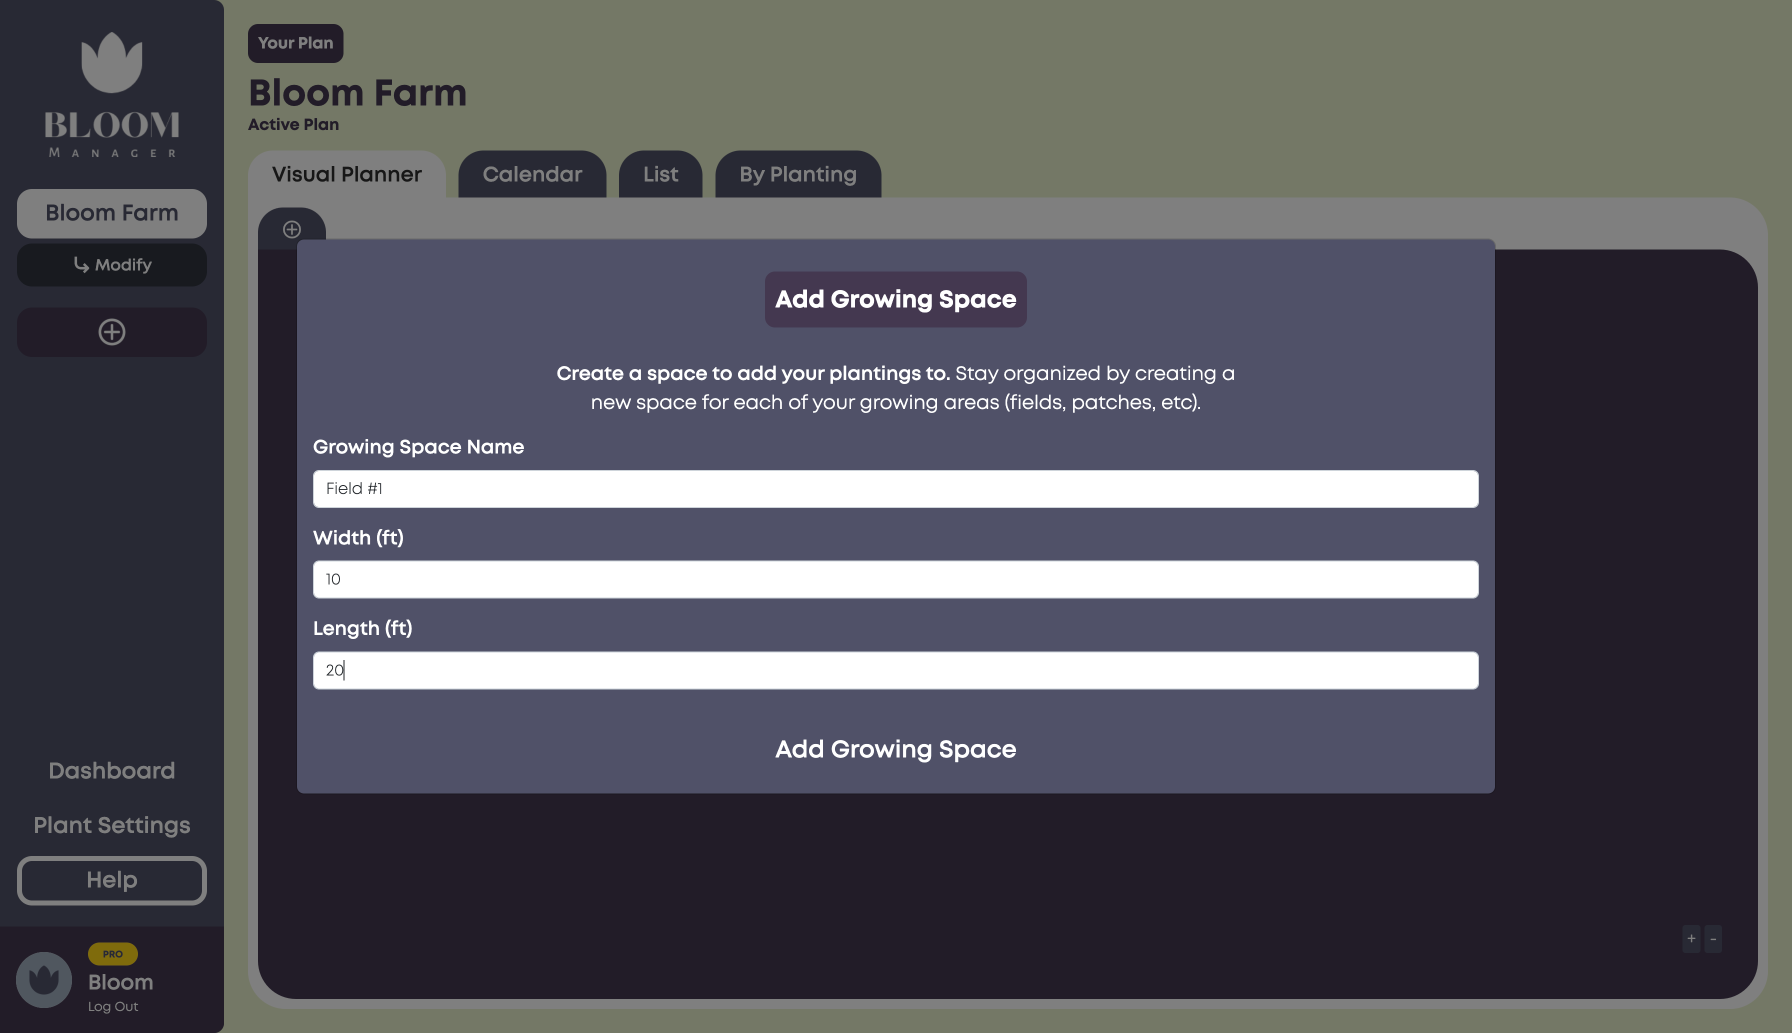
3. Add Growing Space
Here, simply name your growing space and define the width and height. The units are feet.
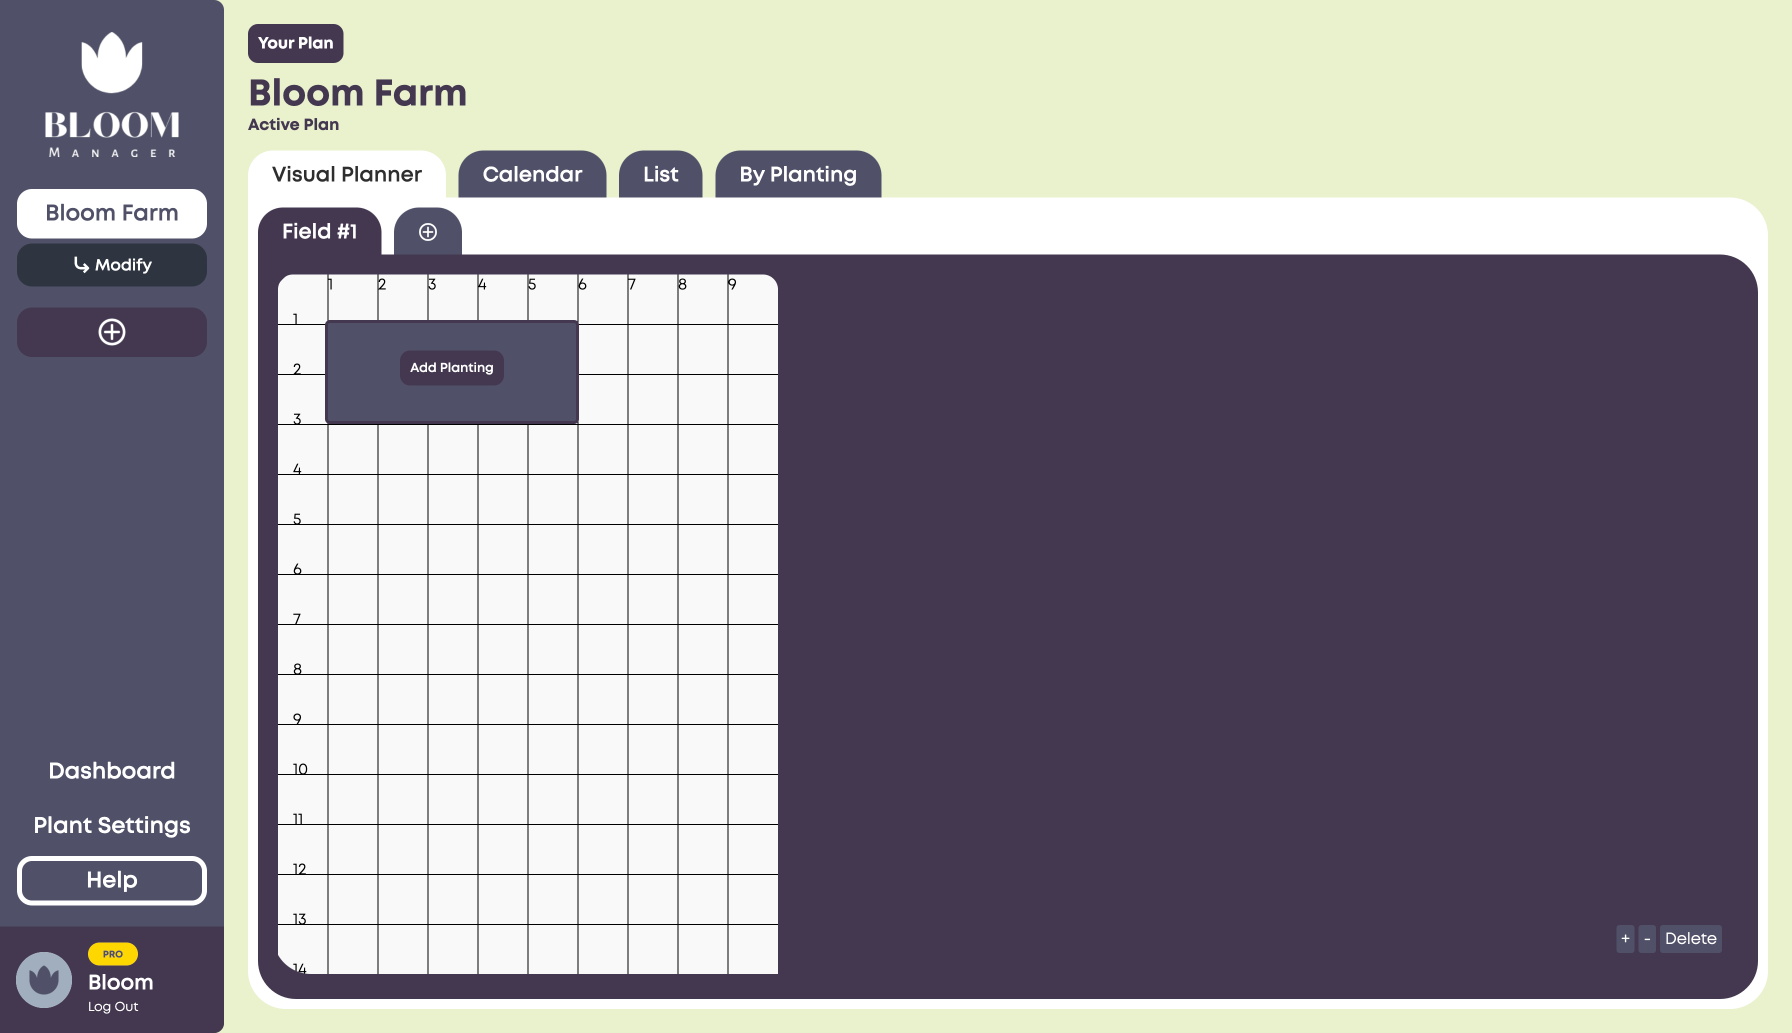
4. Add A Planting
Now, it’s time to add a planting. Click and drag your mouse (or double tap and drag on mobile) to create a selection over your intended area. If you make a mistake, you can click on the X in the top right to delete the planting and try again.
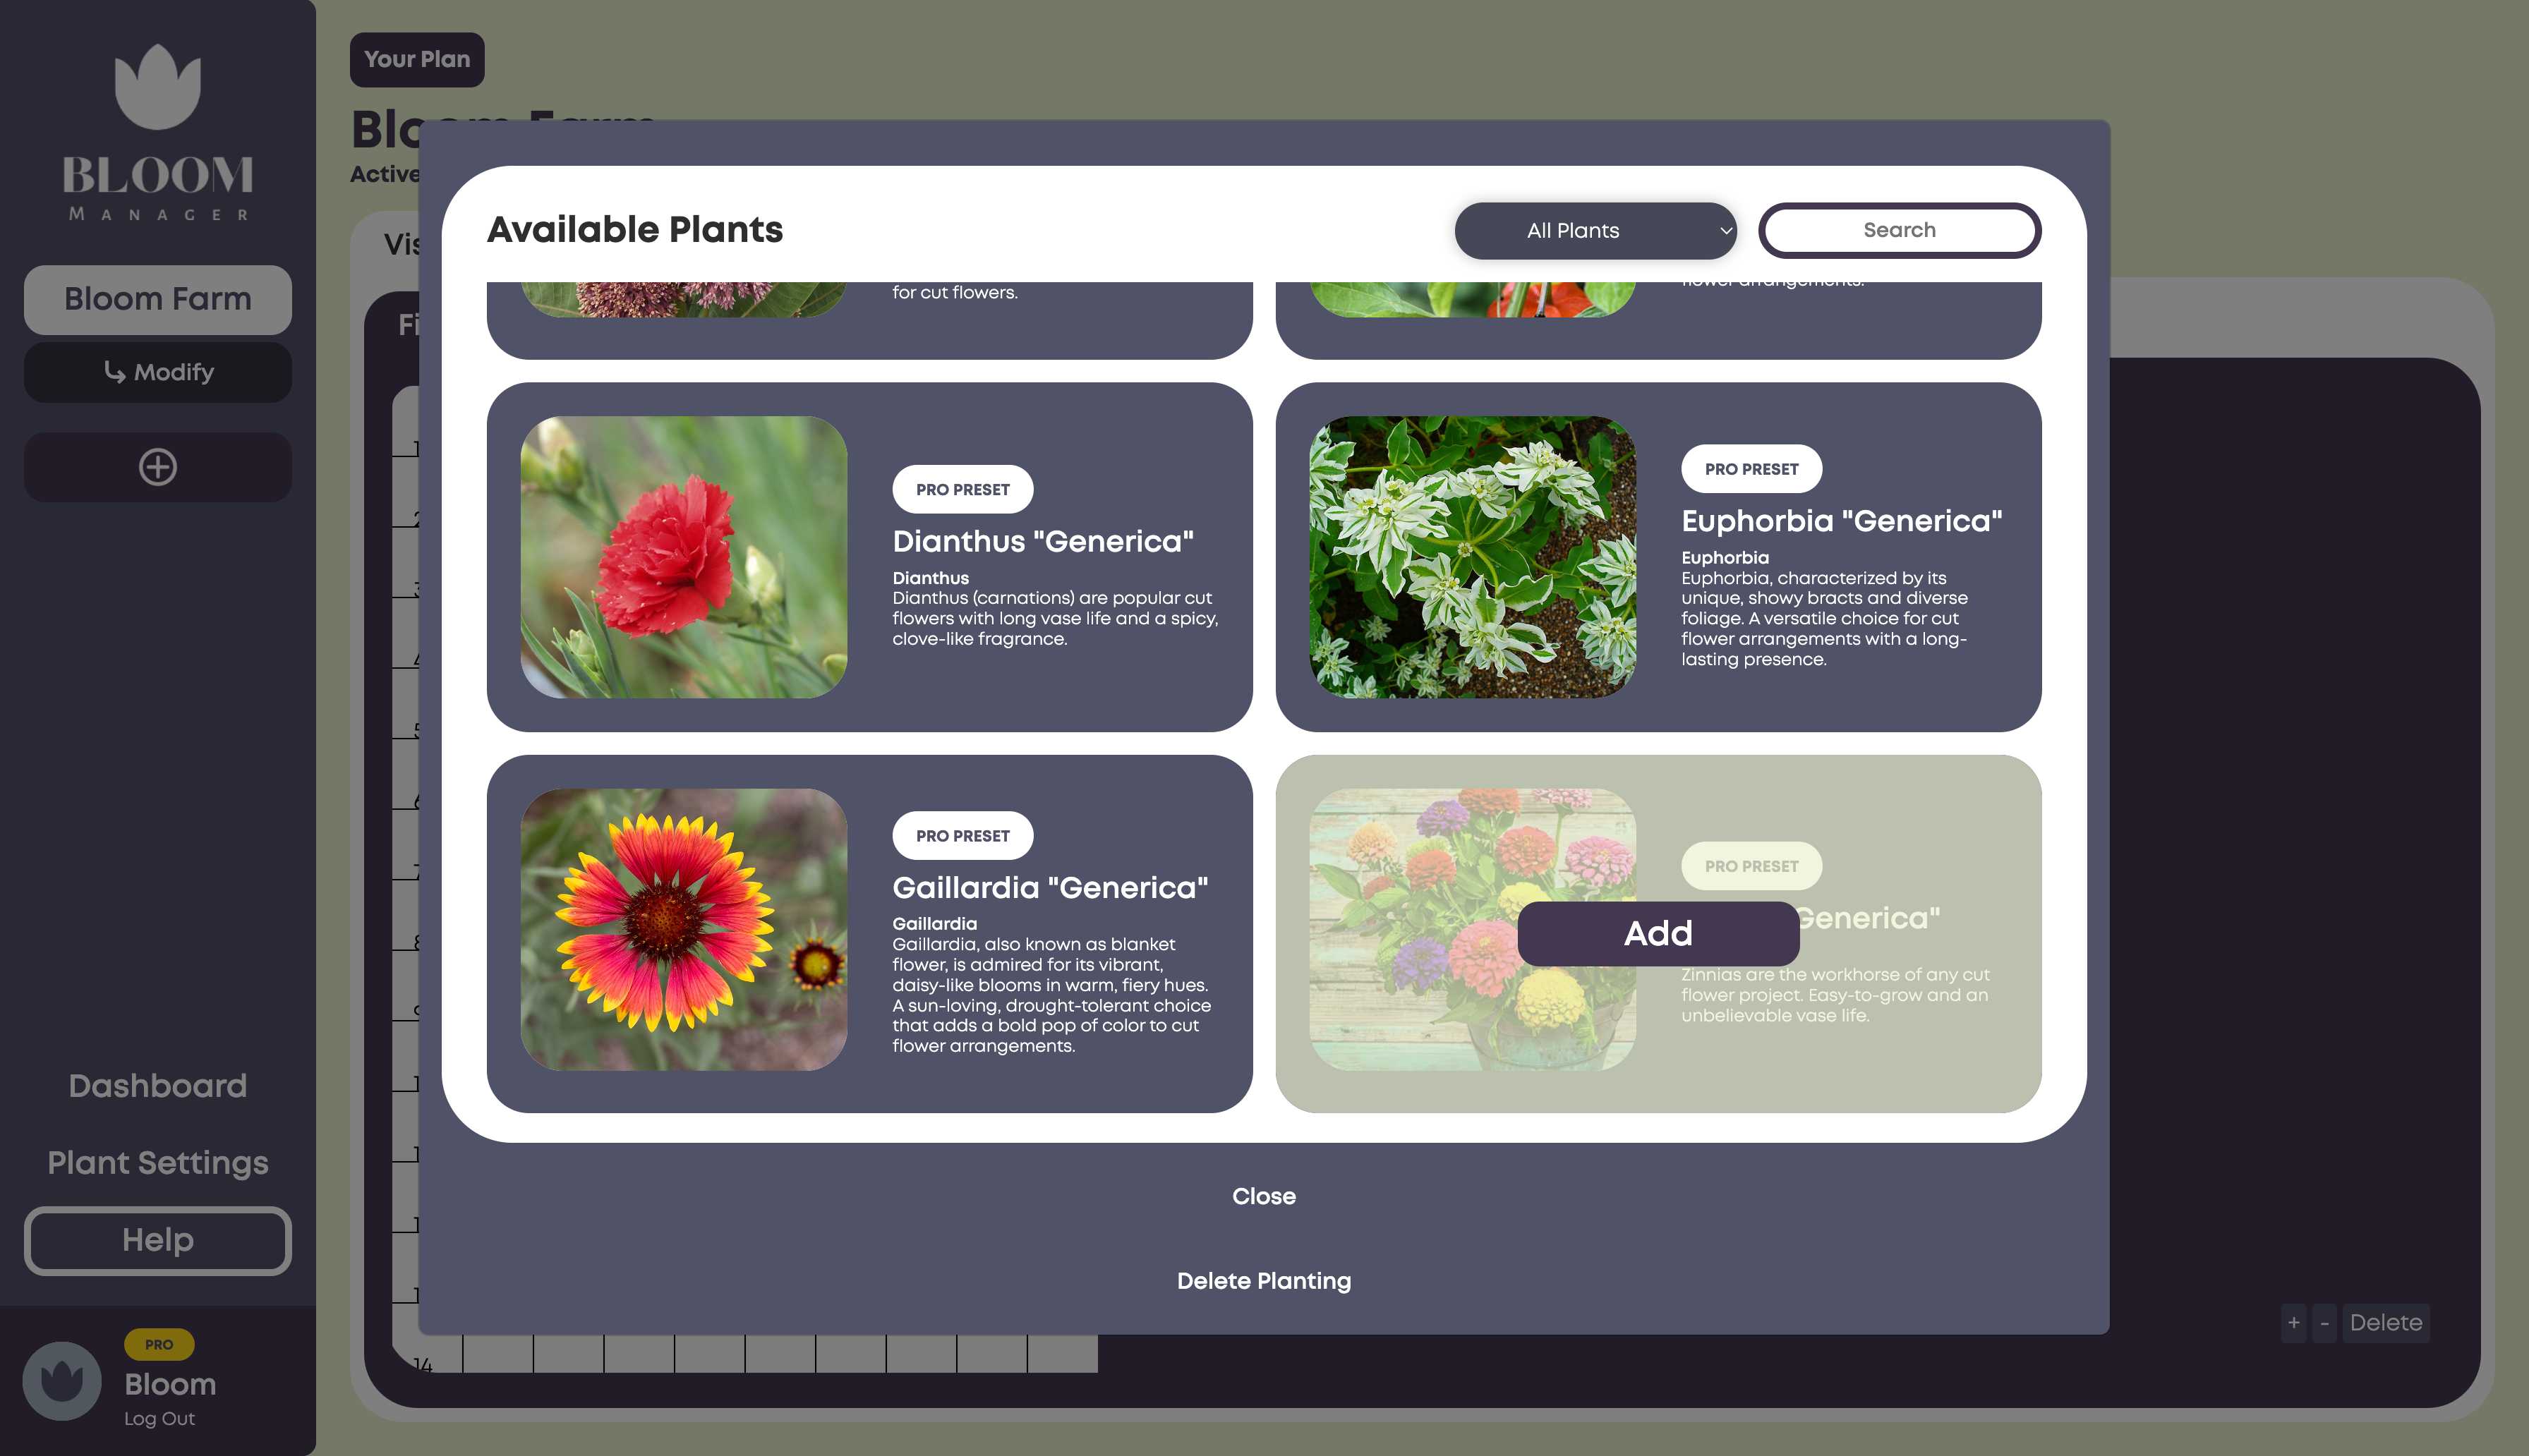
Once you’ve created a rectangle over the area you want to add the planting, click “Add Planting”.
Now, you can see a list of all of the available plants. If you’re a PRO user, there will be hundreds of preset options to choose from. If you’re a CORE user, there will be a handful of preset options. You can also add your own custom varieties – which we’ll go over in a future article.
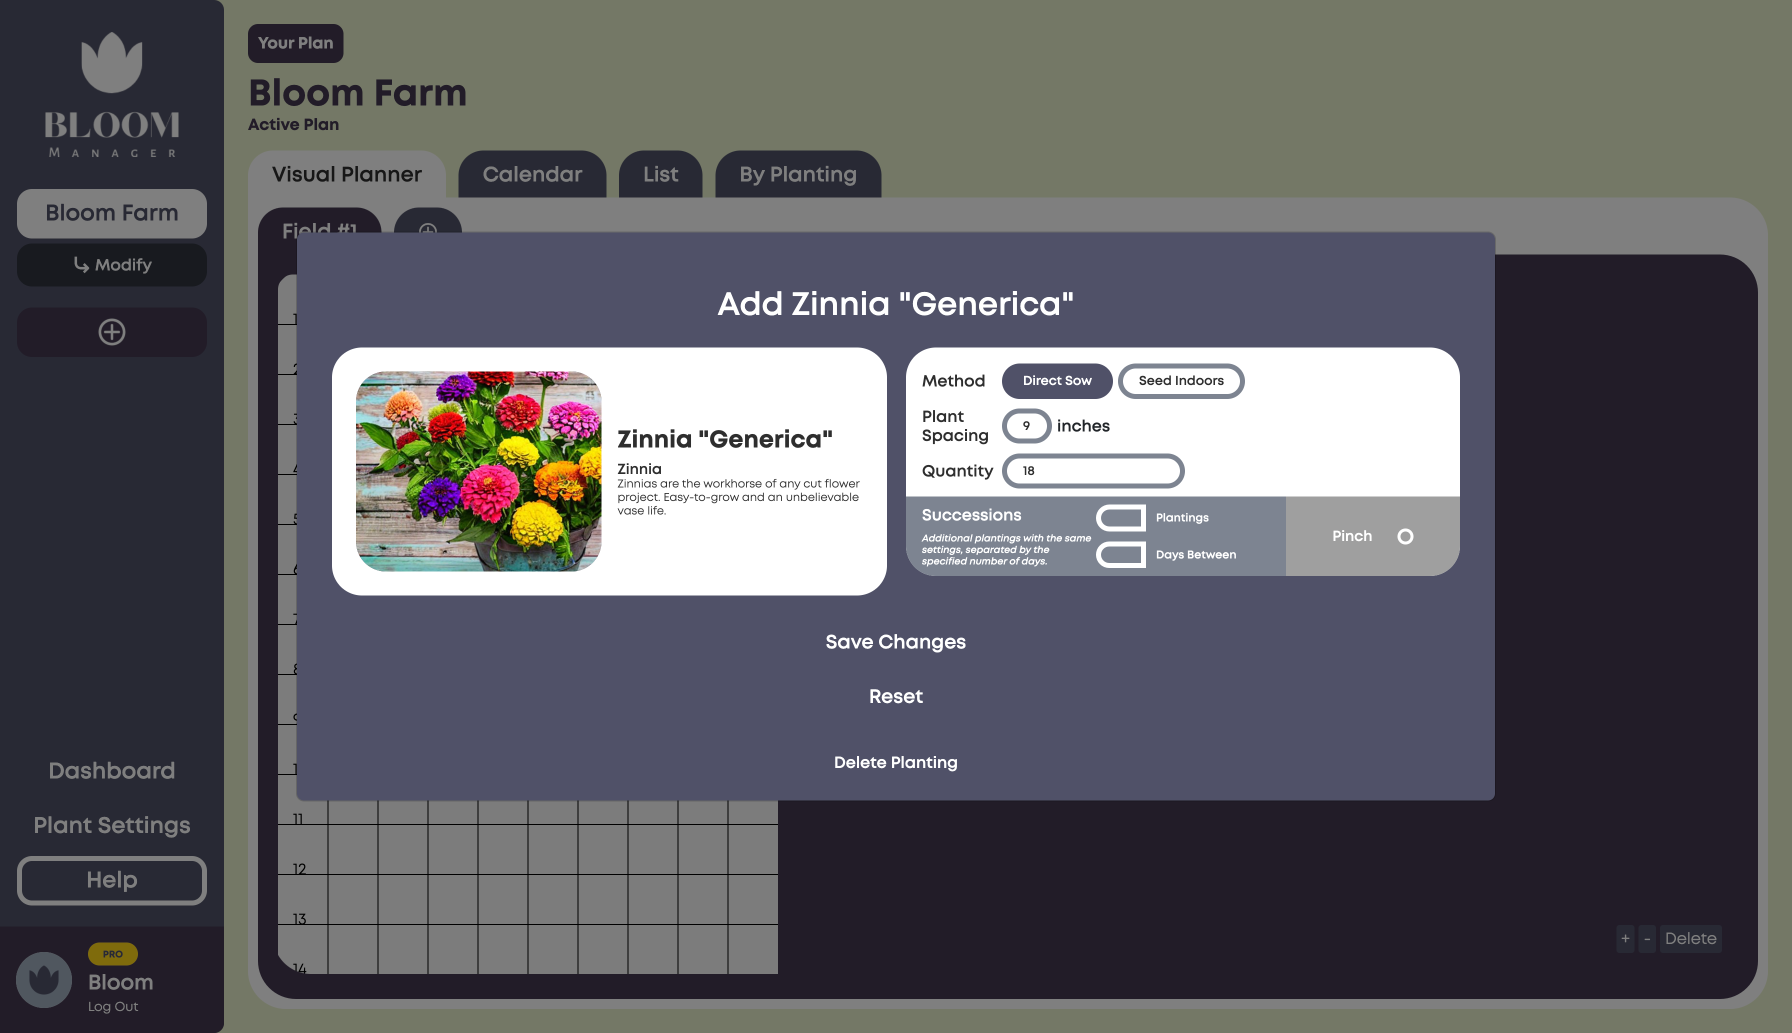
Once you’ve added a variety, you’ll be able to choose from a number of options depending on the plant. You can choose the planting method, such as direct sow or seeding indoors.
You can also change the plant spacing. You’ll see that the quantity is automatically updated based on the size of your planting and the spacing. You can also manually adjust the quantity.
There’s also an option to add succession plantings. We’ll go over the specifics of the succession planting in a future article.
Finally, you can choose special options specific to each plant in the bottom right. In our case with Zinnias here, we can enable a “pinch” option that will create a well-timed pinching task.
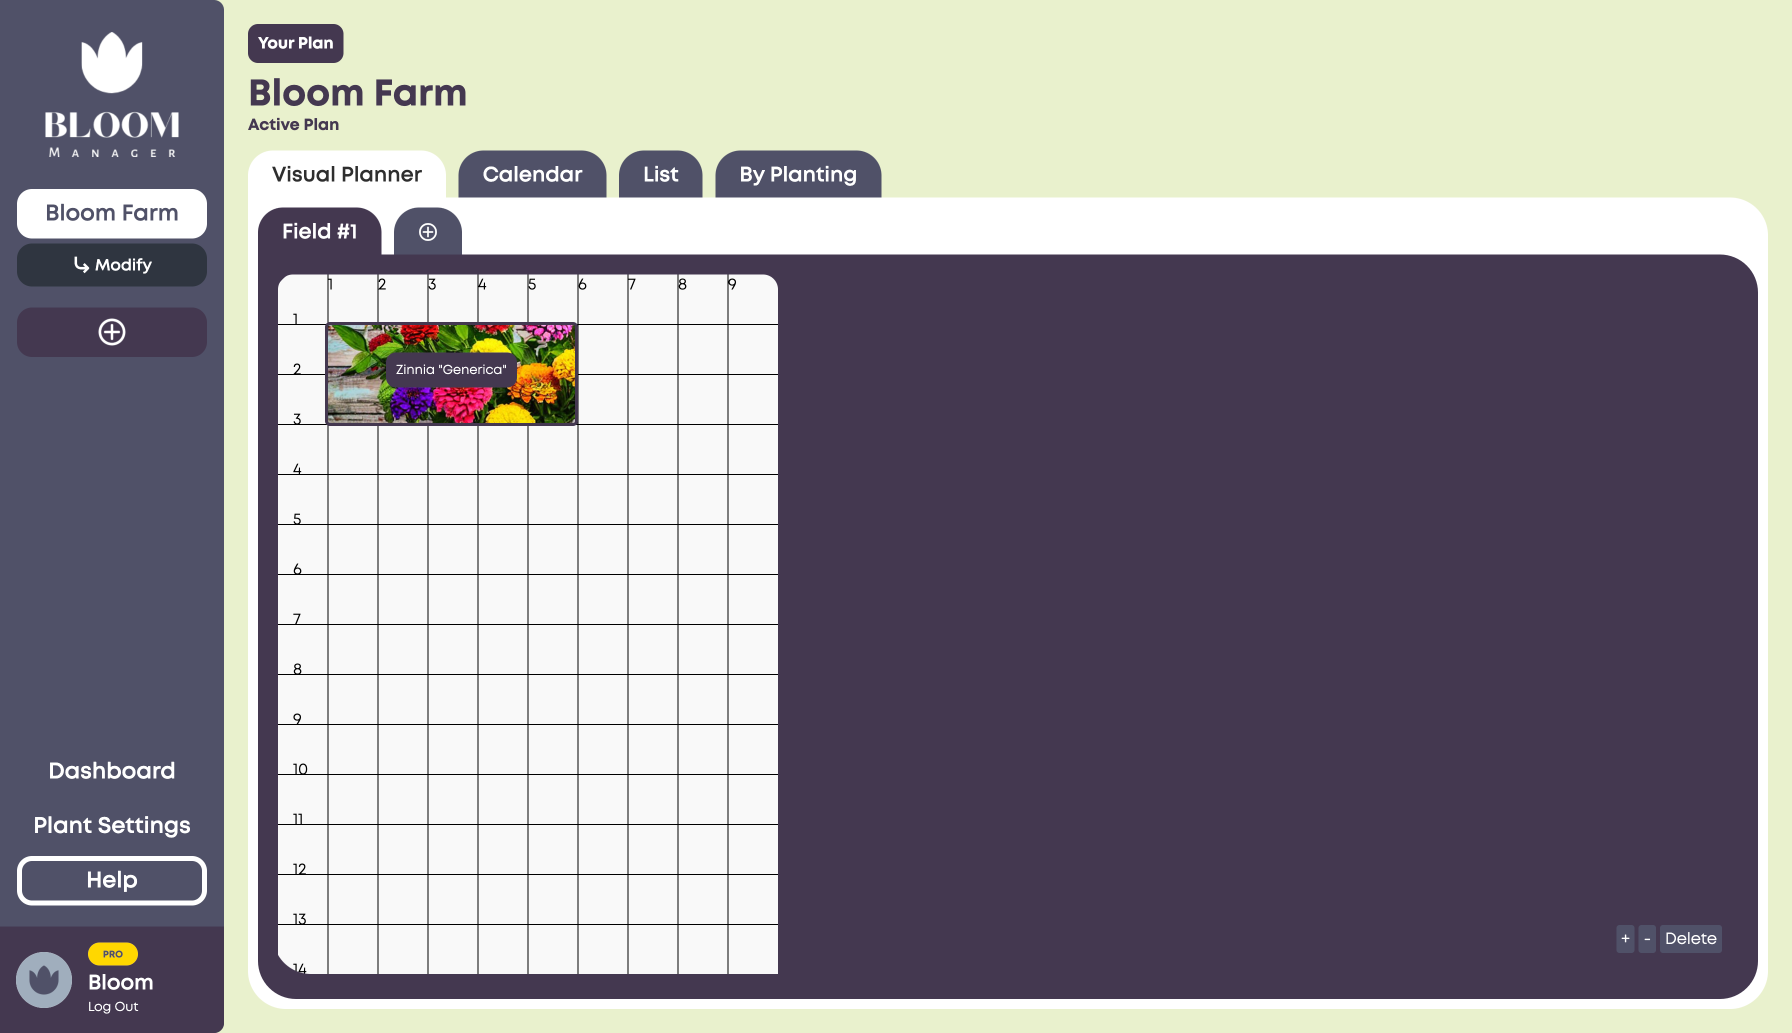
And there we have it! Now, a planting has been created – along with all of it’s associated tasks.
4. View & Complete Tasks
Now, you can navigate to the other tabs on the plan page to view your planting tasks in the calendar view, list view, or by planting.
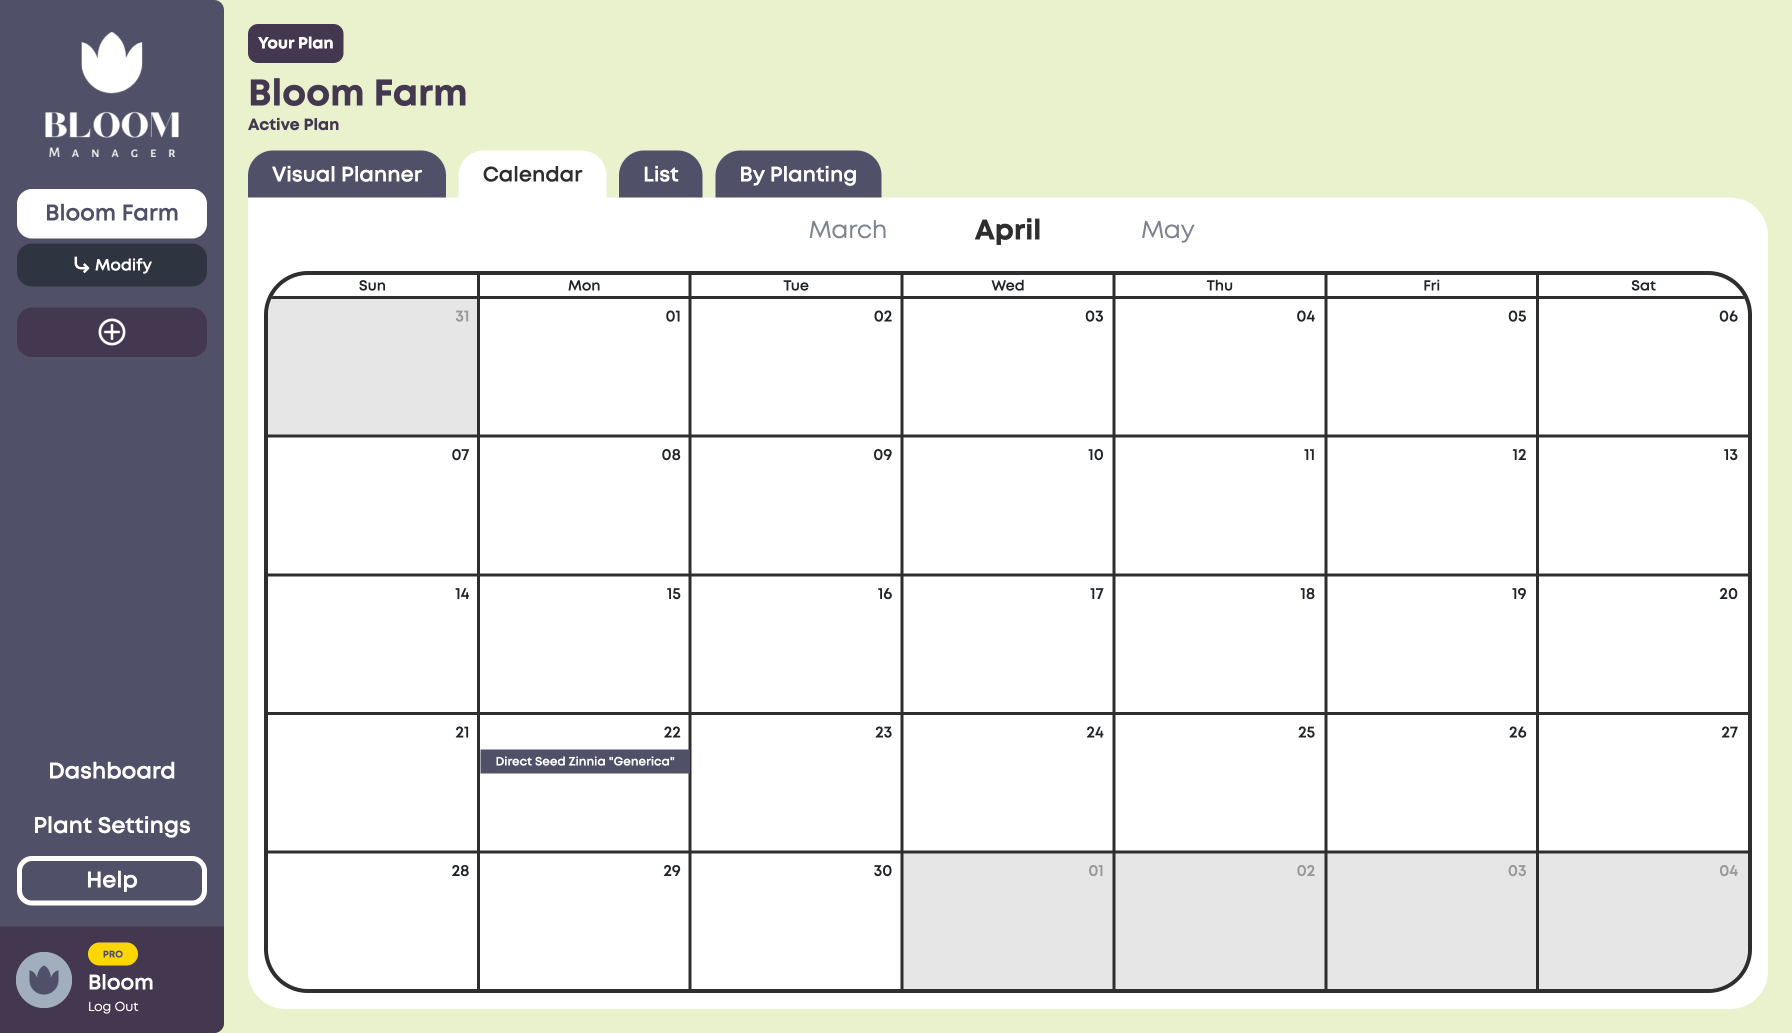
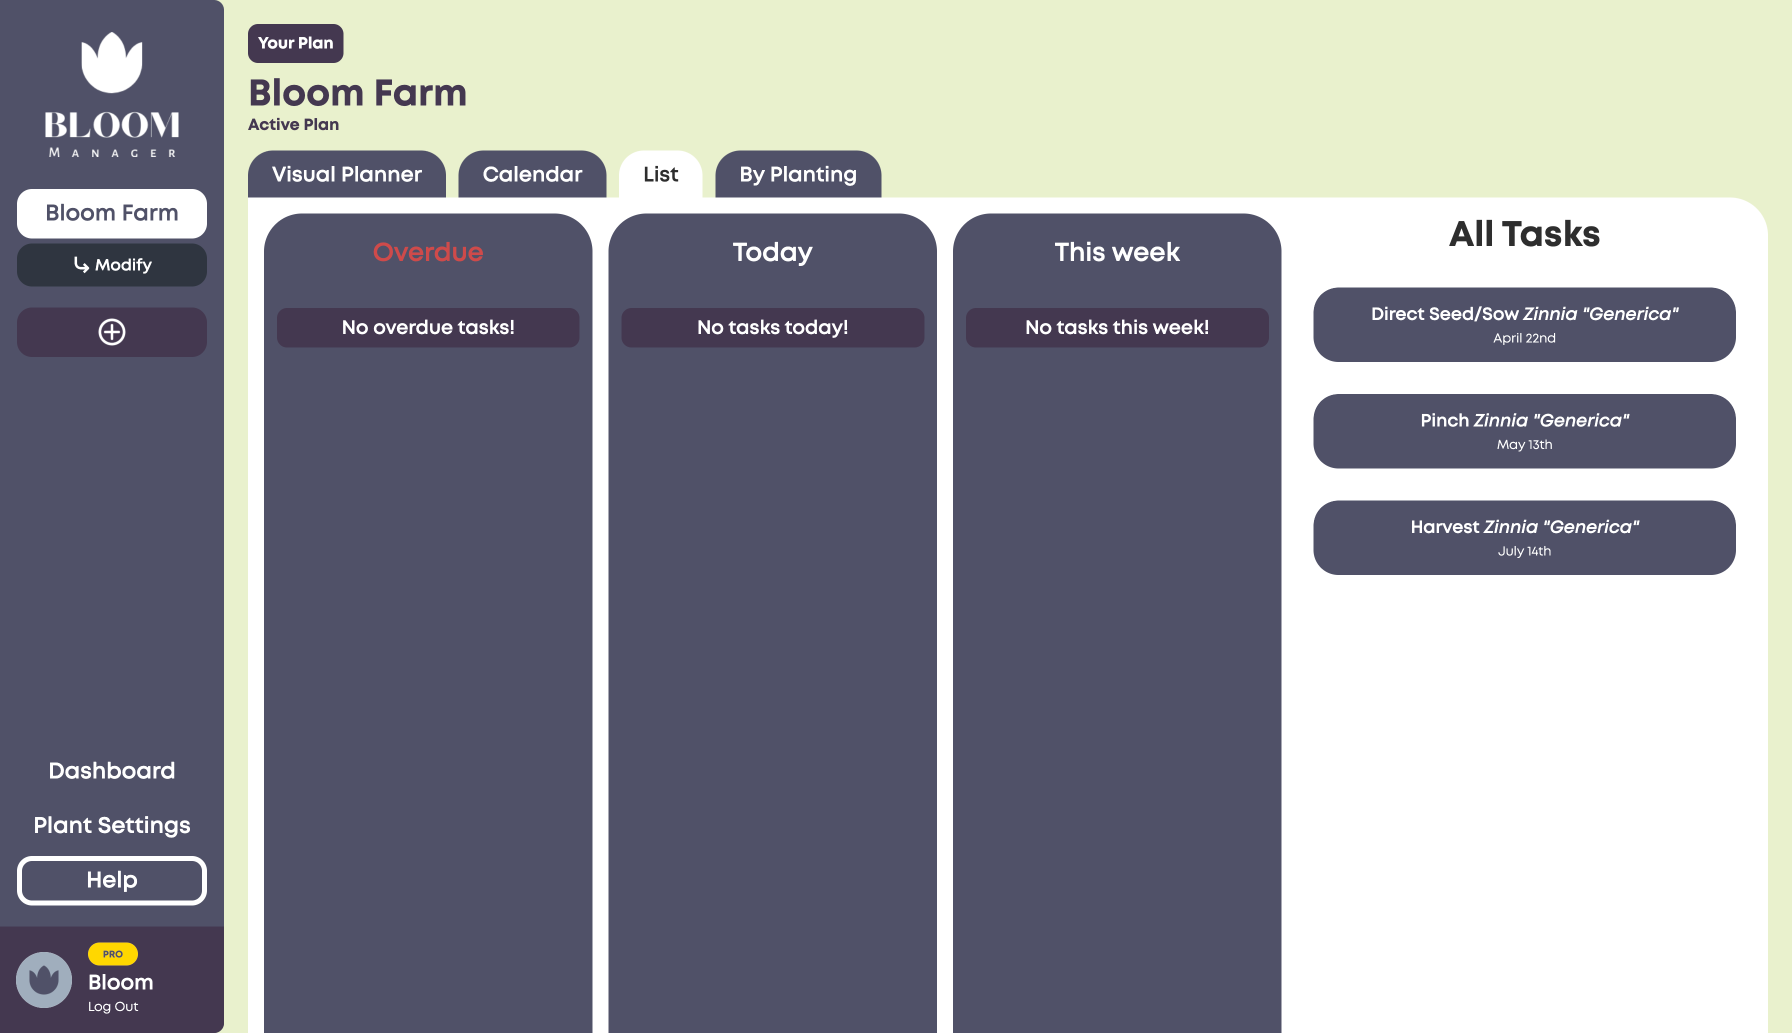
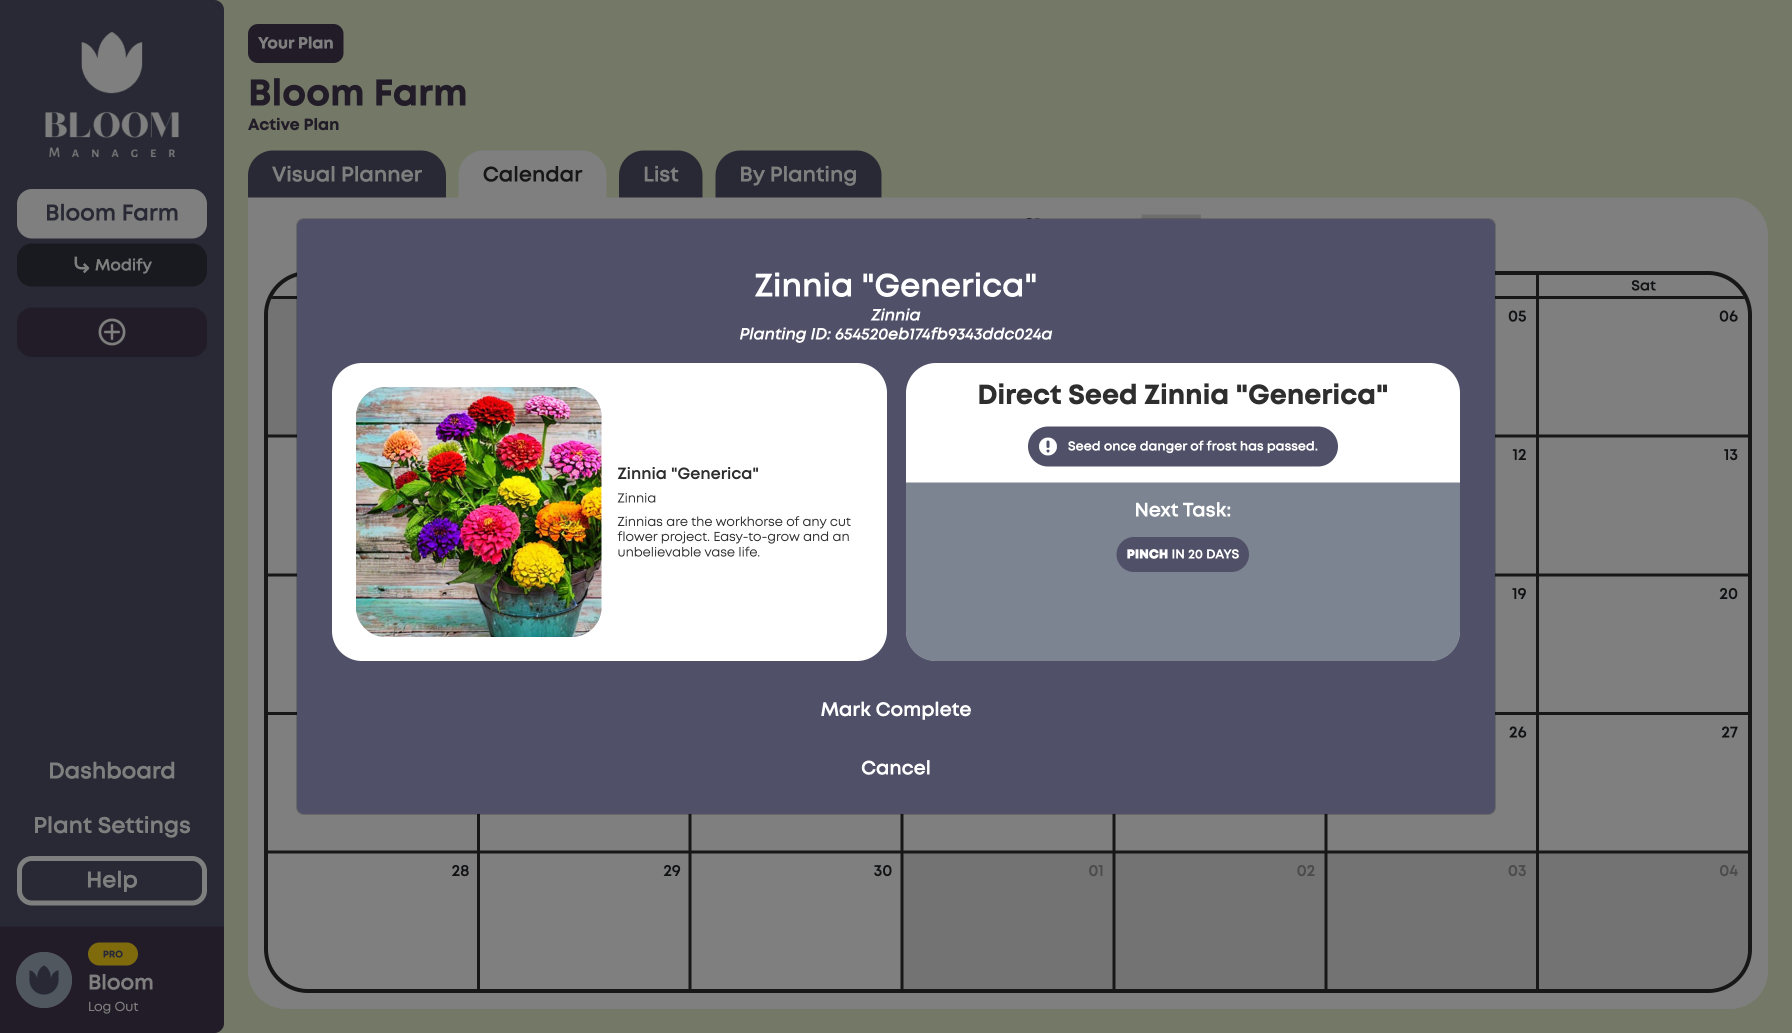
Clicking or tapping on any task will bring up planting details where you can view task details including notes and special instructions, and mark them as complete.
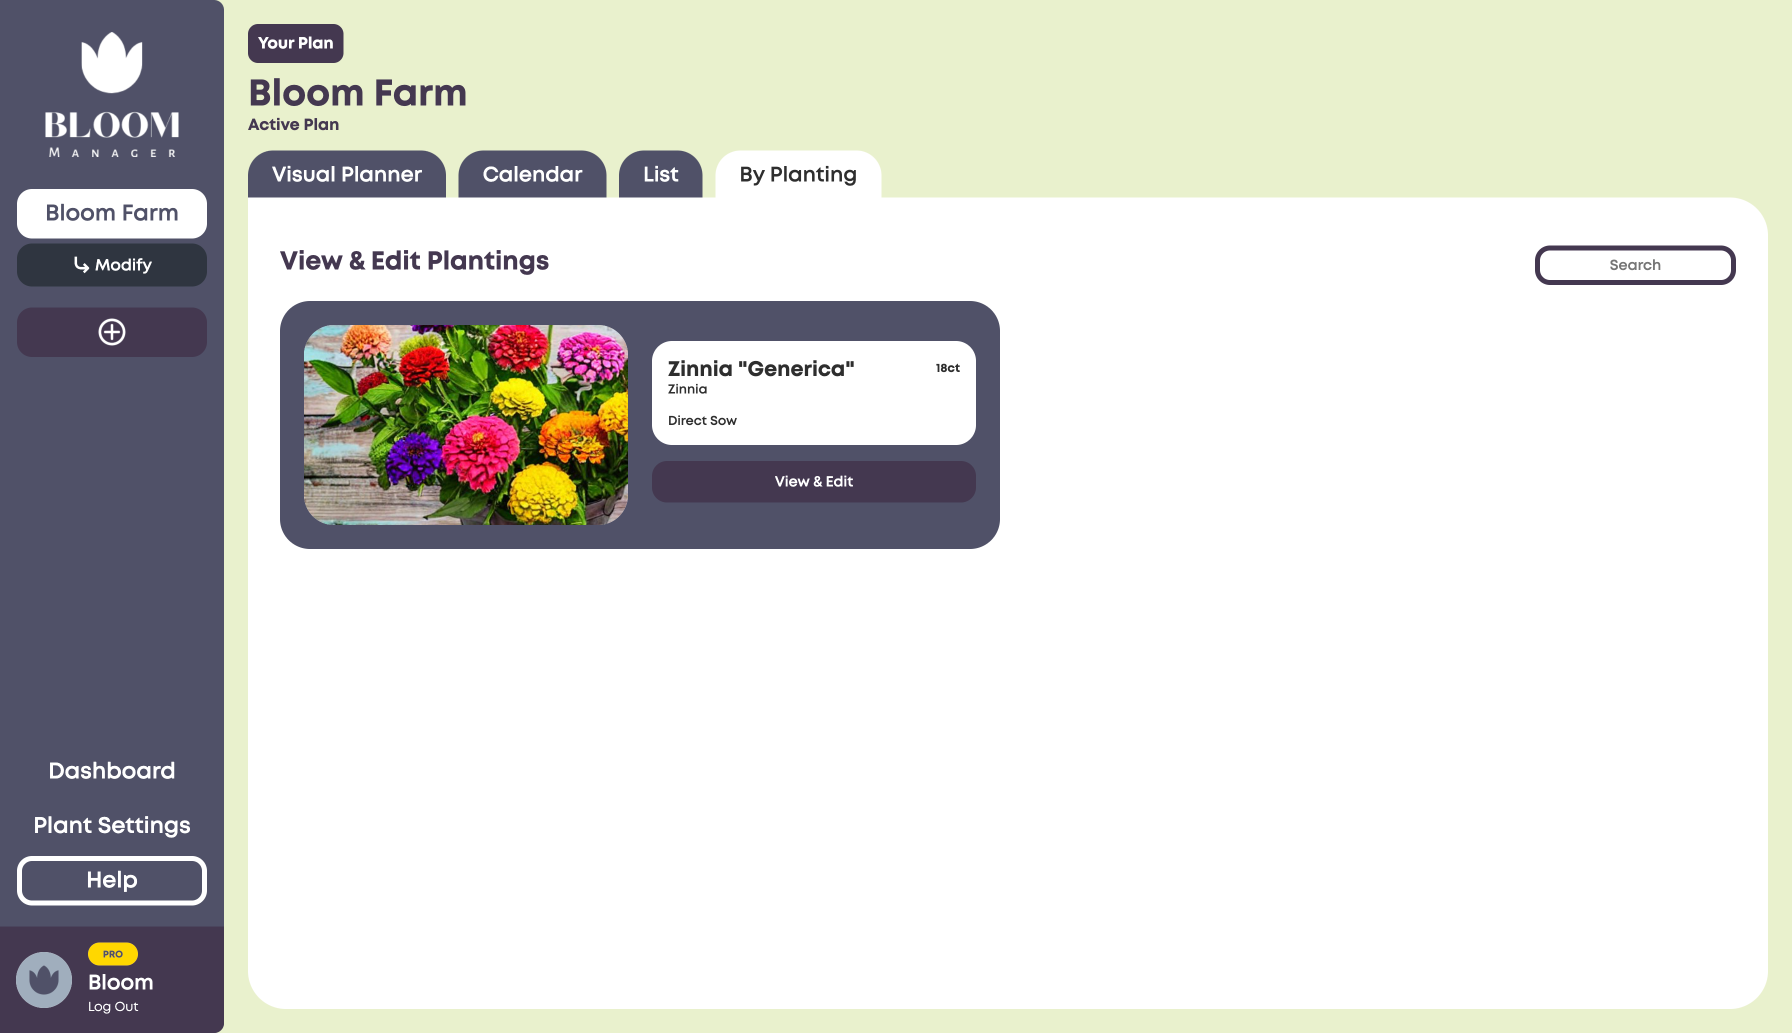
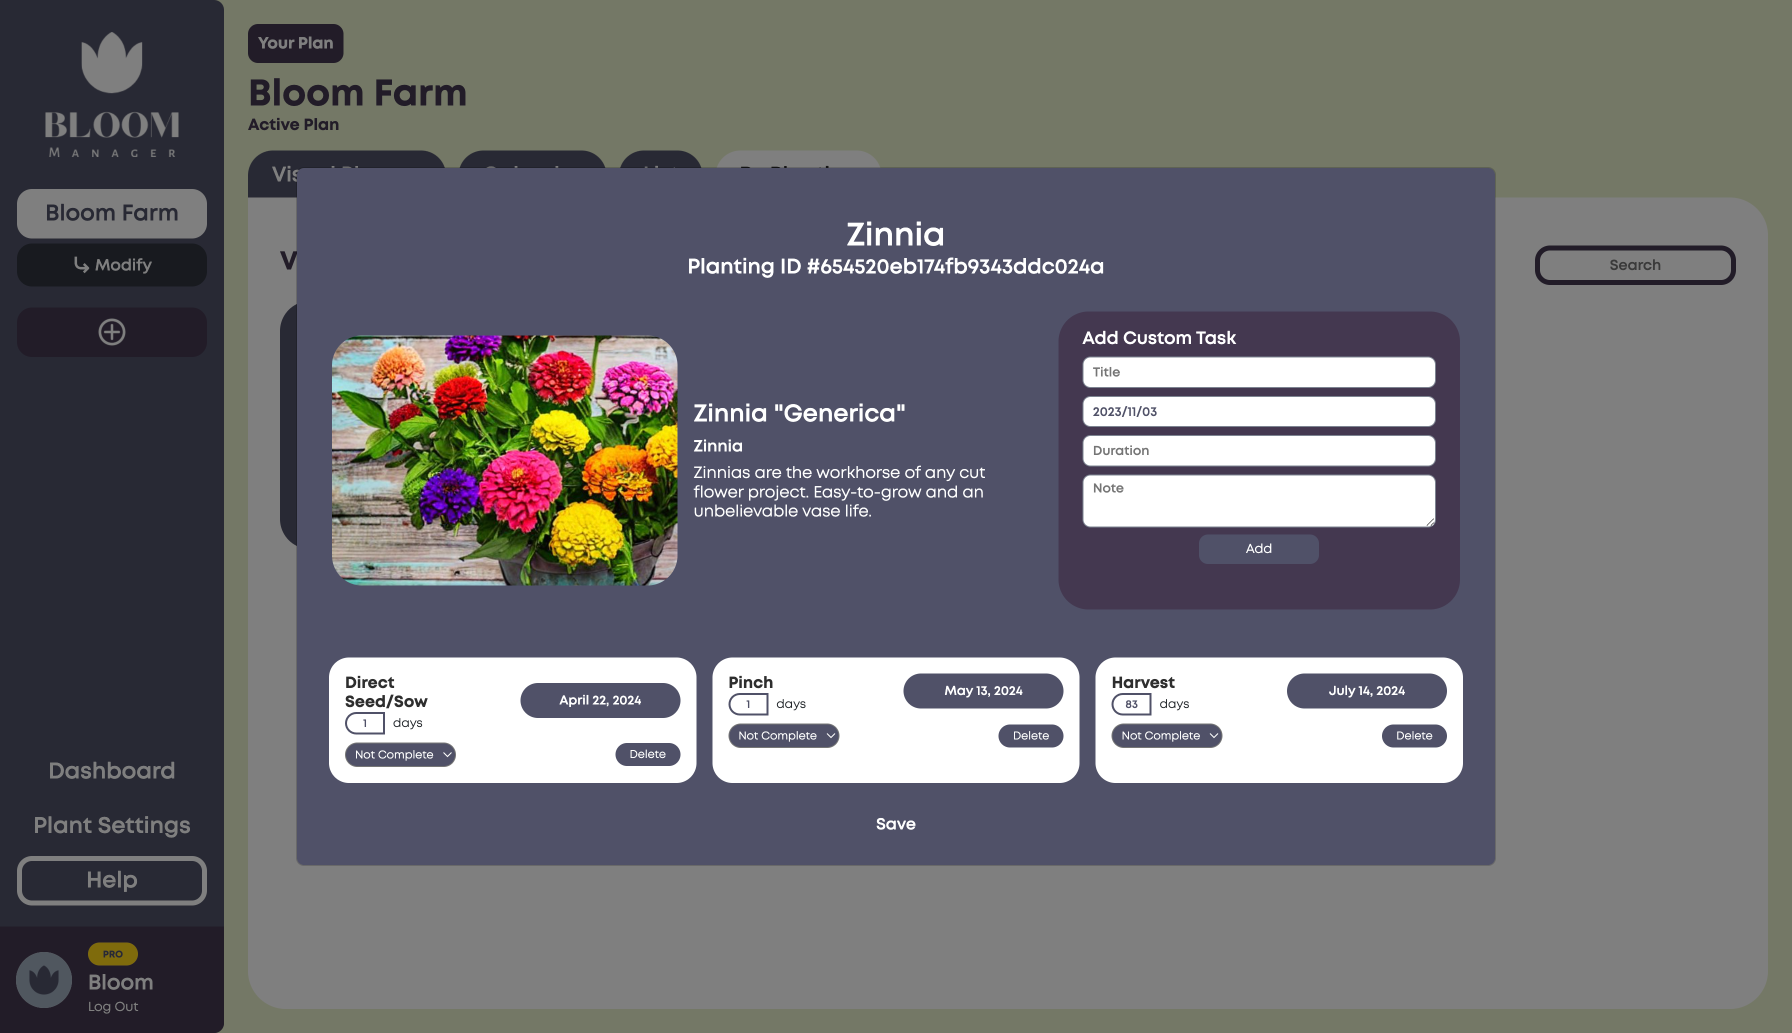
The By Planting tab is great for viewing each planting and its associated tasks in detail. By clicking View & Edit, you can modify task dates, durations and completion status – and even add extra custom tasks.
5. It’s growing time!
And that’s it!
As you can see, Bloom Manager is simple to use but infinitely customizable. You can create custom varieties and tweak existing ones, or simply rely on our extensive collection of variety presets. In any case, you’ll be growing in no time.